-
Safety first: Always take safety precautions when working with windows, especially if you are working at heights. Use appropriate safety gear, such as gloves and safety glasses, and ensure the area below the window is clear of people and objects.
-
Assessment: Inspect the window to identify areas where the existing silicone sealant is damaged, deteriorated, or missing. Focus on the joints, seams, and areas where water infiltration or air leakage may occur.
-
Remove old sealant: Use a utility knife or caulk removal tool to carefully remove any old or damaged sealant from the joints and seams. Clean the joints thoroughly, ensuring they are free of debris, dust, and loose particles.
-
Clean the surfaces: Wipe the glass and surrounding surfaces with denatured alcohol or a silicone remover to ensure they are clean and free of contaminants. Allow them to dry completely before proceeding.
-
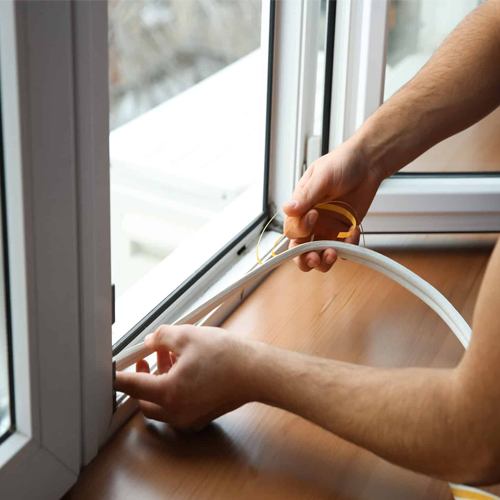
Apply new silicone sealant: Load the silicone sealant cartridge into the caulking gun and cut the nozzle at a 45-degree angle. Apply a smooth and even bead of silicone sealant along the joint or seam, filling it completely. Use a steady hand and maintain a consistent pace to achieve a uniform seal.
-
Tool the sealant: After applying the sealant, use a caulk finishing tool or a gloved finger dipped in soapy water to smooth and shape the sealant. Ensure that it adheres well to both the glass and the surrounding frame.
-
Inspect and cure: Carefully inspect the sealed areas for any gaps or imperfections. Allow the silicone sealant to cure according to the manufacturer's instructions. This typically takes 24 to 48 hours but can vary depending on temperature and humidity.
-
Clean up: Clean any excess silicone sealant from the glass or surrounding surfaces using a utility knife or scraper once it has partially cured but is still pliable. Be careful not to damage the seal.
-
Final inspection: After the sealant has fully cured, perform a final inspection to ensure that the silicone repair has effectively sealed the joints and seams, preventing water infiltration and air leaks.
